My Journey to a Smarter Home (Part 1)
Over the last month, I have published 8 blog posts. Right now, although I still have few more on my to-do list, I’m just a bit over it. I want to write something different than my usual topics. I don’t know how many I am going to write right now, but I want to dedicate the next few posts to something that I have spent a lot of time on over the last couple of years – on all the gadgets I have installed at home, especially around home automation. I will share my experience on the following product families:
- Ubiquiti Unifi
- Sonos
- Xiaomi and their entire ecosystem
- Google Home
- etc.
Back in 2012, I have shared my home lab setup on this blog (part 1, part2). Looking back, I can’t believe it has been 6 years already! Since then, my lab has got a lot bigger than that. In 2014-2015, I once had 6 Hyper-V boxes and few physical Linux boxes in my lab all connected to a layer-3 managed switch. I had different VLANs for different workloads, etc. I remember back then, I had the entire System Center product suite running at home, the ConfigMgr environment alone was made up with 8 virtual machines. Over the past couple of years, I have shifted my focus from System Center to Azure, my home lab is getting smaller and smaller. Although I still have 4 Hyper-V servers (1 desktop PC with 64GB of RAM, and 3 Intel NUC range between 16GB to 32GB RAM), most of them are powered off most of the time. The only VMs I have running 24/7 are the domain controllers and a Windows VM running Windows Admin Center. Now I have a bunch of spare multi-port NICs and bunch of spare SSDs sitting in my closet. Although my lab is getting smaller, the number of network connected devices are actually increasing rapidly at my house.
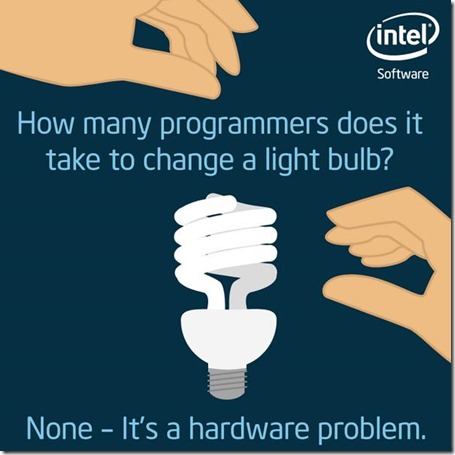
I’m sure a lot of people have heard this joke before:
Well, is this still true in this day and age? Nowadays, the first thing I have to do when changing the light bulbs is connecting them to WiFi and update the firmware! How is that a hardware problem?? The technology we have in our homes have gone a long way over the last few years, to a degree that my wife is complaining the complexity (more like different options) we have in order to turn on the lights. Few years ago, it would be hard to believe the my little girl’s sleep talk caused all the lights in her room to turn on in the middle of the night (thanks to the Google Home speaker).
Few months ago, during my parents visit, my old man came to me, a bit worried and told me that he believes my home wireless network has been compromised. I was a bit shocked, since he’s a civil engineer and I’ve been fixing his computers free of charge for decades, when did he become so skilled in IT? I asked him why did think my network was compromised, he said he used a WiFi scanner app on his Android phone, and discovered there were 70+ devices connected to my WiFi network, so he thought my neighbours must be using my broadband. I was a bit of shocked that firstly, he knows how to scan my WiFi network, and secondly, I thought there are a lot more than 70 devices on my network. I told him to relax, I would have known if someone has hacked into my WiFi - those wireless devices are the smart home devices, such as Google Home and Sonos speakers, light bulbs, air purifier, smart power switches, and all our TVs, xbox, apple TV, laptops, phones and tablets (my 6-year old girl has 4 tablets already!), etc, even our watches have IP addresses!
So how did I come to this stage? I’m bit worried that one day, the /24 IP subnets may not be enough for my home!
To begin this blog series, I’ll start with the physical network setup. so let’s talk about Ubiquiti first.
Note: Unless otherwise specified, all the price I mentioned in this blog series is Australian Dollars (AUD) with tax included. Currently, AUD$1 = USD$0.73, Chinese Yuan ¥4.99 and Euro€0.62
Ubiquiti Unifi Network Devices
With increasing number of WiFi enabled devices we have in our homes nowadays, I was suffering with the poor wifi performance that brought to me by the Access Point that was built-in to the ADSL modem. So few years ago, I bought my first Ubiquiti Unifi access point, used it as a standalone device. Last year, I extended the setup, added an additional access point, together with a 24 port POE switch, a cloud key and a security gateway to my home network, and ditched the 8-port HP layer-3 managed switch I had for many years.
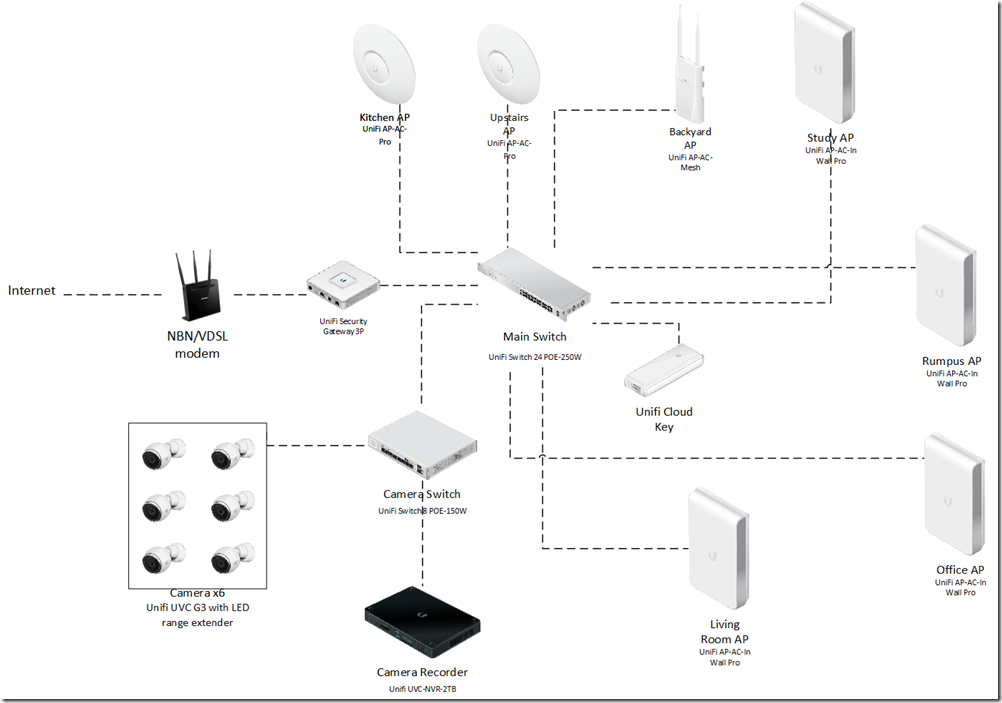
Couple of months ago, we moved into a new house. Before moving in, during renovation, I had opportunity to re-design the network layout in this property. In addition to all the existing Ubiquiti gear I had, I bought a whole lot more access points, security cameras, etc. The end state looks like this:
In total, my electrician ran 14 Cat 6 data points in the house, these data points connect security cameras, wireless access points and the NBN (Australia National Broadband Network) modem back to my office. Luckily all cameras and access points are POE devices, so no additional power points are required.
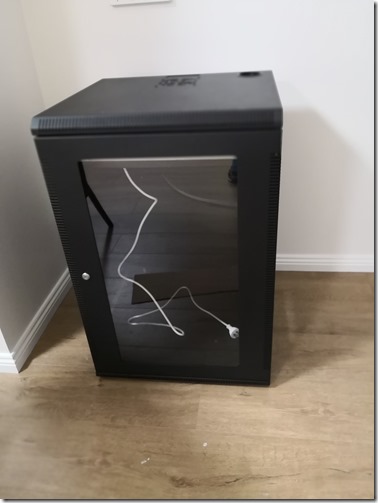
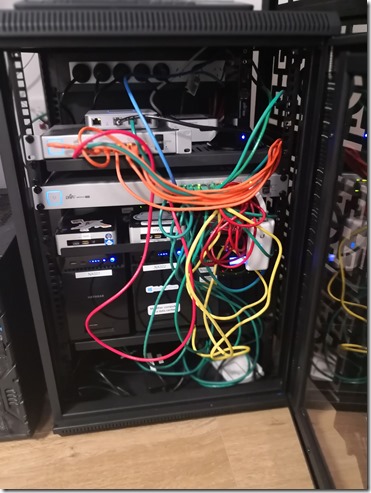
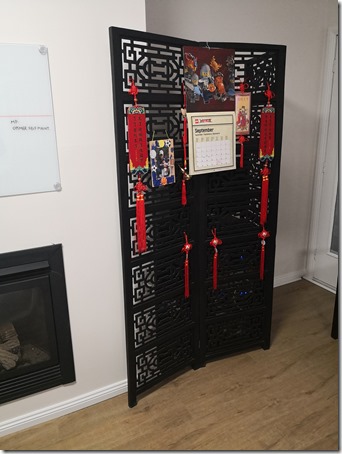
I bought a 16 RU rack from my local electronic store for $281, which I believe it’s very good price. I placed it in my office and managed to put everything in except for my only desktop PC (Hyper-V server).
before:
after:
To avoid overheating, I removed the side panels from both side, and blocked it using a room divider
P.S. Don’t laugh at my cabling skills. At least I colour coded the cables ![]() .
.
Here’s the full list of Ubiquiti products I have running at home:
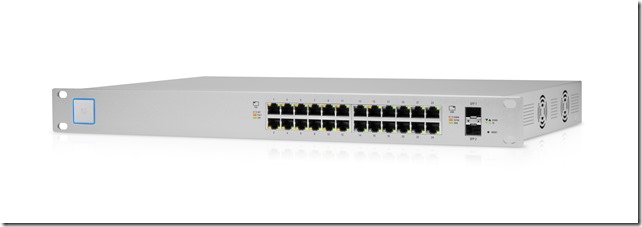
1. Main switch (Unifi 24 port POE 250W)
This is the main switch that connects all the access points, lab servers, cloud key, security gateway, etc. it supports POE up to 250W, which is more than enough to power all 7 access points I have in the house. I’m glad that when I bought it last year, I got the 24 port version. right now, I only have 1 port left. The only thing I don’t like about this switch is the noise. it comes with 2 fans on each side. these fans can get pretty loud, especially in the summer. This is a fully managed layer 3 switch, but in order to configure the layer-3 capabilities such as static routes, you will need to have a cloud key, which runs the controller software for all your Unifi devices (except for cameras and NVRs).
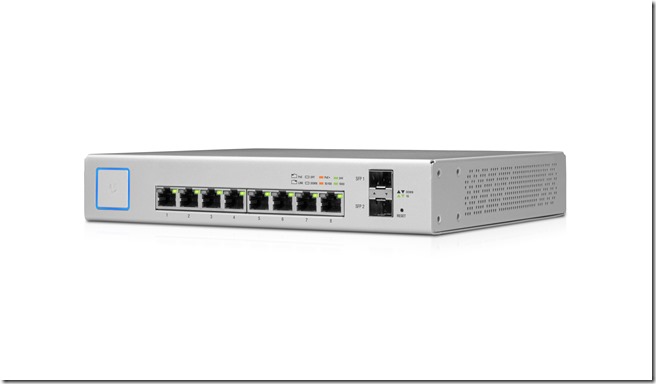
2. Camera switch (Unifi 8 port POE 150W)
I don’t have enough ports on the main 24-port switch for the security cameras, so when I bought the cameras, I got this switch as well. 6 POE cameras, plus the NVR recorder, and an uplink port to the main switch, I’ve used all 8 ports. This is a layer-3 managed POE switch as well, just like the 24-port model, but the 8-port model doesn’t have fans, which is good! One thing I don’t like about this switch is, although it comes with a mounting bracket, it is still not the right size to be rack mounted. unlike the 24 port switch, which can be rack mounted, I had to put this on a metal plate in the rack.
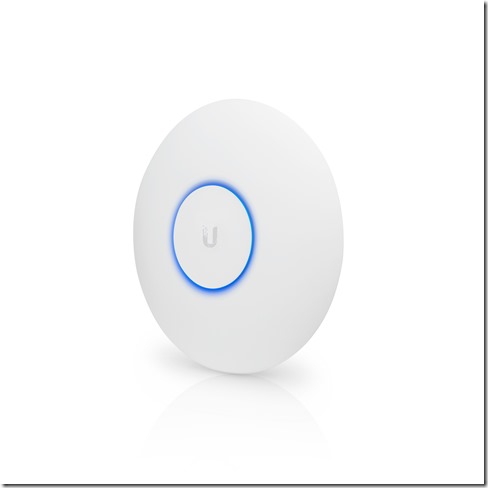
3. Unifi AP-AC-Pro Access Point x2
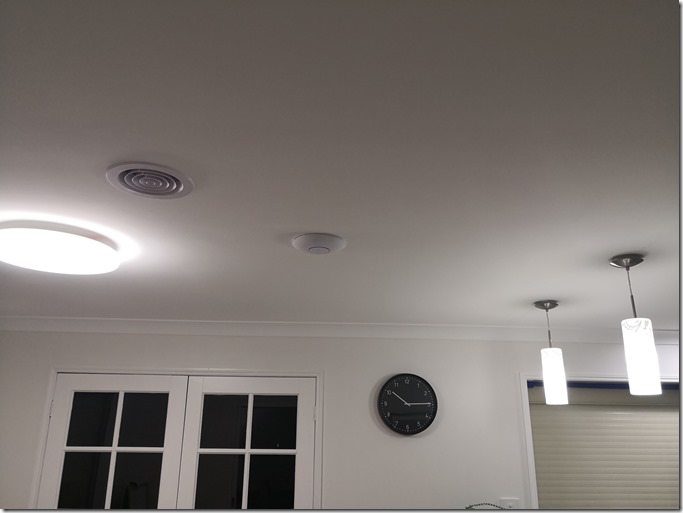
I had 2 AP-AC Pro access points from my old house. they are designed to be mounted on the ceiling. I have placed them into 2 locations that do not require additional data points: in the kitchen and upstairs on top of the stairs. They blend in quite nicely with the lights:
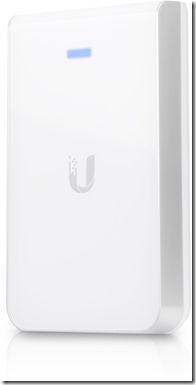
4. Unifi AP-AC In Wall Pro x4
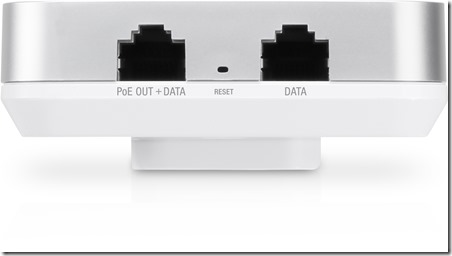
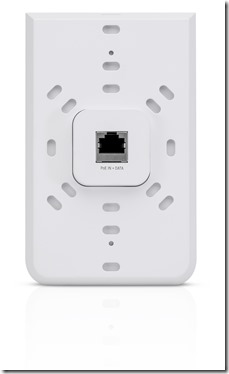
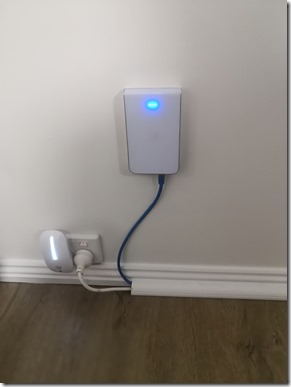
When I built my previous house back in 2007, I simply ran data points in different rooms so I can connect devices through these data points. A lot has changed over the last decade. I have better options now. Instead of installing boring data points, I bought 4 AP-AC In Wall access points, placed them in rooms that require additional data points. These devices are WiFi access points, with 2 additional data ports, one of which is POE enabled.
They are pretty easy to install, just a POE cable (Cat 5e or Cat 6) on the back:
By using these In Wall APs, not only I have data points I can connect other wired devices, but also extended the WiFi ranges in every room:
i.e. in my office, connected to a 8 port unmanaged switch for computers on the desks:
5. Unifi AP-AC Mesh
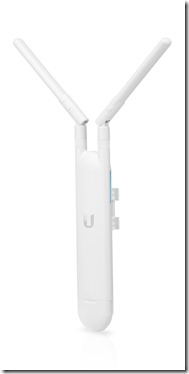
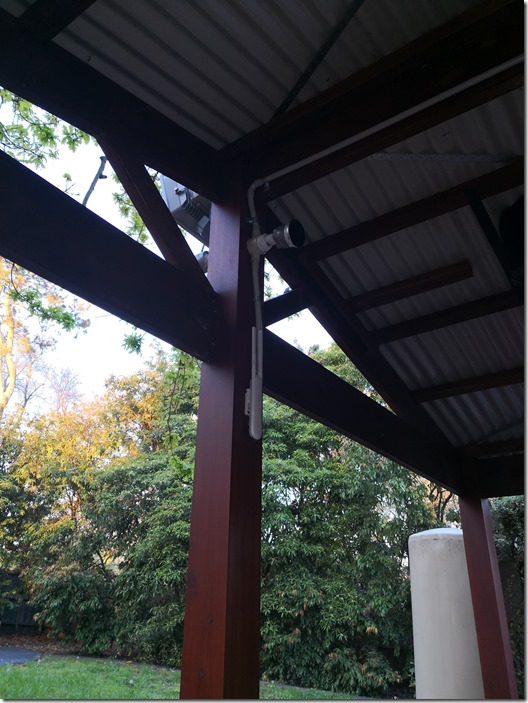
The Mesh APs are designed for outdoor use. I want to have good WiFi signal when I’m in the backyard, so I placed an AP-AC Mesh access point outside, right in the middle of the yard. I also have several security cameras around the same area. The electrician managed to place the Cat 6 cables into PVC pipes, and wired them back to my office:
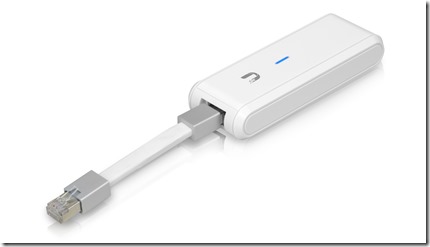
6. Unifi Cloud Key
This tiny unit is a POE powered appliance that runs the controller software for all Unifi devices. it’s like the brain for entire network. You access this device via its web portal, where you can access all the metrics, logs, setting up WiFi networks, managing other devices such as switches and security gateways, etc.
Overall dashboard:
Traffic Stats:
List of Unifi devices managed by Cloud Key:
Connected network clients:
Network topology maps:
Detailed network activity logs:
With Unifi, you don’t manage individual switches or APs, you manage all your network devices in a single pane of glass, which is the Cloud Key web portal.
You create your WiFi networks via the Cloud Key. I have created one for ourselves, and also an isolated guest network for visitors:
You can configure when people connect to your guest network, they must accept your terms and condition
Or even setup a payment option for using your guest network (just like hotels):
This is on my to-do list to try out. I want to see who’s dumb enough to pay me via PayPal. it’s going to be fun ![]() .
.
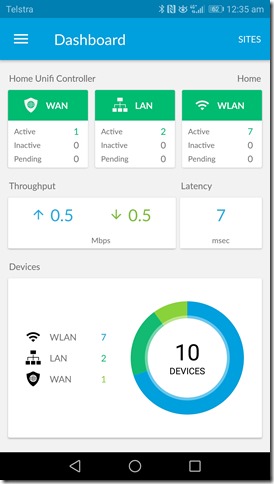
I can also connect the cloud key to my Ubiquiti account. Once done, I can access it via the Unifi app on my mobile phone even when I’m not at home
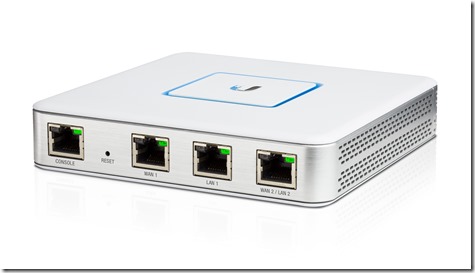
7. Unifi Security Gateway
This device sits between the NBN modem and my internal network. so I essentially created a DMZ – if I connect any devices directly to the data ports on the NBN modem. This device adds IPS (Intrusion Prevention) and DPI (Deep Packet Inspection) to your network. It also acts as a router and firewall. I have several VLANs in my network. the static routers are configured on this device (via the Cloud key):
Static Routes:
Firewall rules:
DPI:
IPS:
The IPS feature is fairly new, still in beta. I briefly tried it for few days (while my parents were visiting us). soon after I enabled it, I was flooded with alerts saying my old man’s tablet has got some trojan horse and it is attacking other devices out on the Internet. During the same timeframe, I started losing Internet connections at night, because the this Security Gateway device has stopped responding. This really pissed me off because I use Google home speakers as alarm clocks. No Internet means no alarm clock. I learned it the hard way because the alarm didn’t go off, and I was late for work. I also noticed that copying large files between VLANs is really slow. I’m talking about less than 4 mbps. Once I disabled it, everything went back to normal. The incident related to my old man’s tablet triggered me to create an isolated guest WiFi network so I can apply different policies to it.
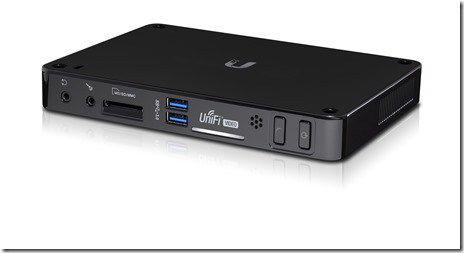
8. Unifi UVC-NVR-2TB Network Video Recorder
This NVR(Network Video Recorder) manages all my Unifi security cameras. This device is not managed by the Cloud key, and it has a dedicated web portal, where you can manage cameras, access live stream, recording, etc.
Similar to the Cloud Key, you can also connect this device to your Ubiquiti account. This allows you to access the device via the Unifi Video app when you are not home. so you can see the live stream and access the recordings as long as you have Internet connections.
On the back of the device, there’s a VGA and HDMI port, so you can connect it to a monitor. However, unlike other recorders I had in the past, you cannot access the footage and live stream via these ports. You can simply access the underlying Linux OS console via the monitors (no GUI, just a CLI console).
I can configure how the NVR starts recording (i.e. recording all the time, or only a movement is detected). I can also configure the retention period for the recordings. This device is not cheap, costed me $580. I guess it’s because of the 2TB SSD inside the device.
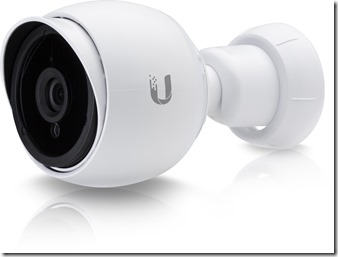
9. Unifi UVC-G3 POE Security Cameras x6
These cameras are POE powered, can be used outdoor. I placed 3 in the front, 3 in back. It supports 1080P resolution. comparing with the previous Swann cameras I had in my previous house, these ones are a lot better. The live stream is a lot smoother, I can hardly notice any lags even when accessing it via 4G connection. The picture quality is great.
i.e. during the day, before I zoomed in:
After zoomed in to the maximum level:
At night:
Price-wise, these cameras are somewhere in the middle, around $230 each. there are more expensive ones from Ubiquiti (goes up to $450). I needed 6, and $450 each are too much for me. You can also get them in 5-packs. The 5-pack costs $1099. so I got a 5-pack, plus an individual one.
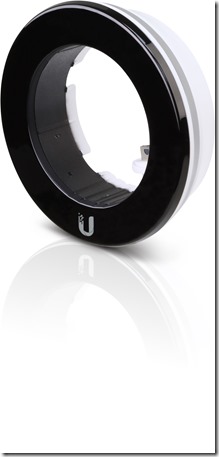
10. Unifi UCG-G3 Camera LED Range Extender
According to Ubiquiti, these extenders can extend the night vision range of your G3 cameras by 25 metres. In my opinion, these range extenders is a must have. although it costs $129 each, you can tell the difference at night:
Without the extender, comparing to the previous picture of my backyard (with extender turned on), it looks like this. you can hardly see anything!
The bad guys most likely will be invading your property during the night, you want to make sure you have a better vision at night. Initially I only bought a couple of these to try out. Once I noticed the difference, I went back to the shop and got one for each camera.
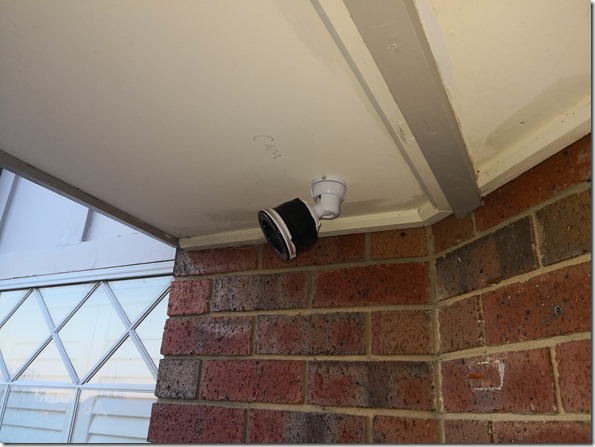
The only thing I don’t like about these extenders is the way it is attached to the camera. firstly, you will need to take the cap off the camera (which is not easy, and impossible without using other tools)
Then, it is really hard to clip the extender to the camera. I left them to my electrician, he tried to connect the cable not realising it’s not clipped in fully. The cable was too short, he tried to pull it, then broke the extender. I had to buy another one.
Also the mini-USB connector to the camera is supposed to be sealed by a piece of rubber. The rubber does not seal properly. I can still see a gap. this could cause problems over time because they are being used outdoor, water may go in, and rubber doesn’t last too long in the sun! Therefore my electrician and I have duct taped all the cameras, so the rubber and the connector is not exposed to the bad weather conditions. I hope this is something Ubiquiti could address in any future models.
Conclusion
This concludes the part 1 of this blog series. Unifi devices are not cheap comparing to all other consumer grade products. But in my opinion, they are well worth the investment. I have done a lot of research before purchasing all these gears. Microsoft MVP Troy Hunt has written several awesome posts on Ubiquiti products, these posts have helped me a lot during my research. You can find them here: https://www.troyhunt.com/tag/ubiquiti/.
I will dedicate Part 2 to my another favourite brand: Xiaomi. stay tuned.










Leave a comment